Learn how to make a Granny Square Blanket step by step with a beginner-friendly, detailed and SEO-optimized guide.
Introduction
If you’re looking for a timeless crochet project that is both beginner-friendly and incredibly versatile, the Granny Square Blanket is the perfect choice. Loved by crocheters around the world, this classic design combines simplicity with creativity, allowing you to create something truly unique while learning essential crochet techniques.
A Granny Square Blanket is made by joining multiple small squares—called granny squares—into a larger piece. Each square can be customized with different colors, textures, and patterns, making every blanket a personal work of art. Whether you want to create a cozy throw for your home, a thoughtful handmade gift, or even start a small crochet business, mastering this technique is a powerful step forward.
The best part? You don’t need to be an expert. Even if you’re just starting, this guide will walk you through every step in detail, ensuring you feel confident from your very first stitch to the final finishing touches.
What is a Granny Square Blanket?
A Granny Square Blanket is a crochet project made by connecting multiple square motifs. Each square is typically worked in rounds, starting from the center and expanding outward.
What makes this style so popular is its flexibility. You can create small squares and join them later, or work continuously into larger pieces. It also allows you to experiment with color combinations, making it ideal for using leftover yarn.
Additionally, granny square blankets are known for their durability and warmth. The structure creates a slightly textured fabric that is both breathable and cozy—perfect for all seasons.
Materials You Need to Make a Granny Square Blanket
Before starting your Granny Square Blanket, gathering the right materials will make your experience smoother and more enjoyable.
You will need:
- Yarn (acrylic or cotton for beginners)
- Crochet hook (size matching your yarn)
- Scissors
- Yarn needle
- Stitch markers (optional)
Choosing soft, medium-weight yarn is recommended for beginners. It’s easier to handle and creates a comfortable finished blanket.
Basic Crochet Stitches You Should Know
To successfully create a Granny Square Blanket, you should be familiar with a few essential stitches:
- Chain (ch)
- Slip stitch (sl st)
- Double crochet (dc)
These stitches form the foundation of granny squares. Once you understand them, the rest of the process becomes much easier.
Granny Square Blanket: Step 1 – Creating the First Granny Square
Explanation
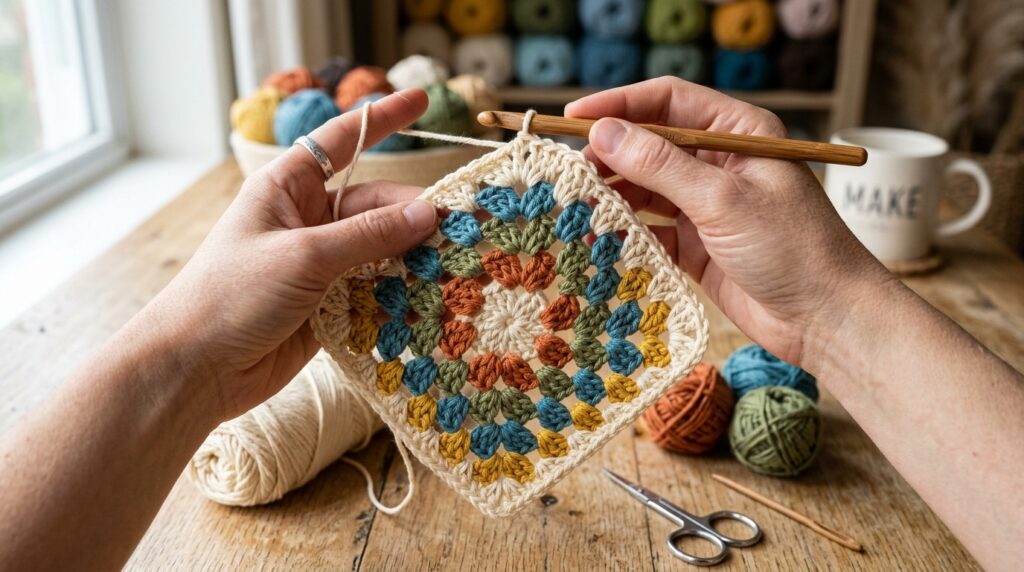
The foundation of your Granny Square Blanket is the individual square. Each square begins at the center and grows outward in rounds. This method ensures that the square remains symmetrical and easy to replicate.
Starting correctly is crucial. A well-made first square sets the standard for the rest of your blanket. It also helps you understand the rhythm of crochet, which will become more natural with practice.
Steps:
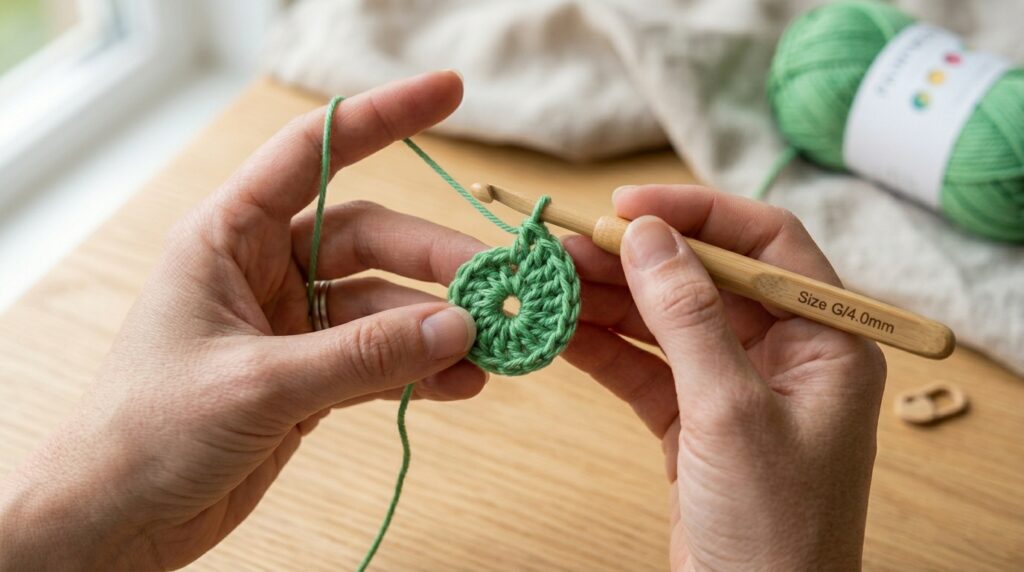
- Step 1: Create a magic ring or chain 4 and join into a circle
- Step 2: Chain 3 (counts as first double crochet)
- Step 3: Make 2 double crochets, chain 2 (corner), repeat 3 times, join with slip stitch
Granny Square Blanket: Step 2 – Expanding the Granny Square
Explanation
Once the center is complete, the next step is expanding the square. This is done by working into the corner spaces and adding stitches along the sides.
The beauty of granny squares lies in their repetition. Each round follows a similar pattern, making it easy to memorize and repeat. As you grow the square, you’ll start to see the iconic shape forming clearly.
Steps:
- Step 1: Slip stitch to the nearest corner
- Step 2: Chain 3, make 2 double crochets, chain 2, 3 double crochets in the same space
- Step 3: Work 3 double crochets in each side space and repeat corners
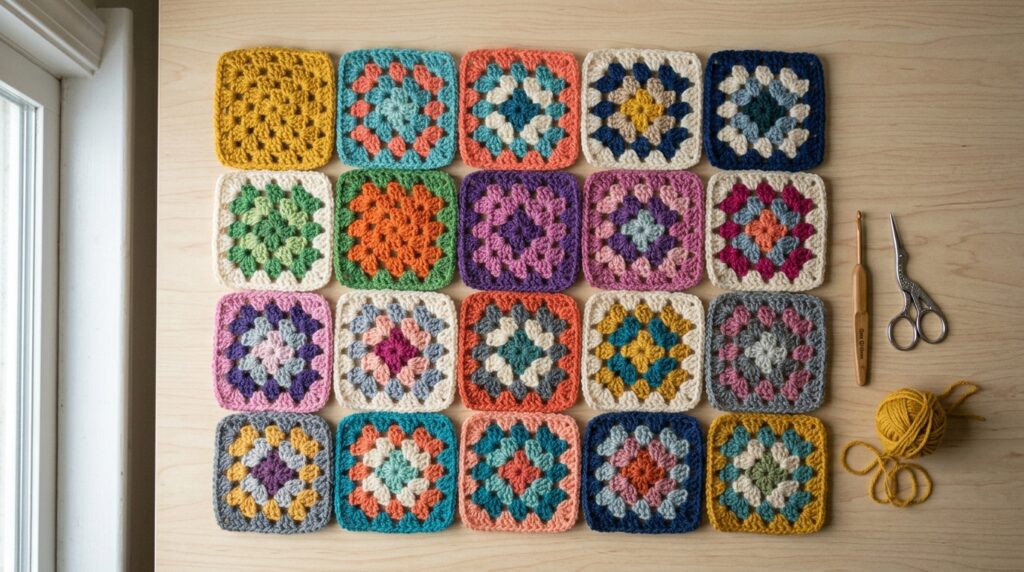
Granny Square Blanket: Step 3 – Making Multiple Squares
Explanation
To create a full Granny Square Blanket, you will need multiple squares. The number depends on your desired blanket size.
Consistency is key here. Try to maintain the same tension and size for each square. This ensures that all pieces fit together perfectly when joining.
Steps:
- Step 1: Repeat the granny square process
- Step 2: Make enough squares for your blanket size
- Step 3: Stack and organize squares by color or pattern
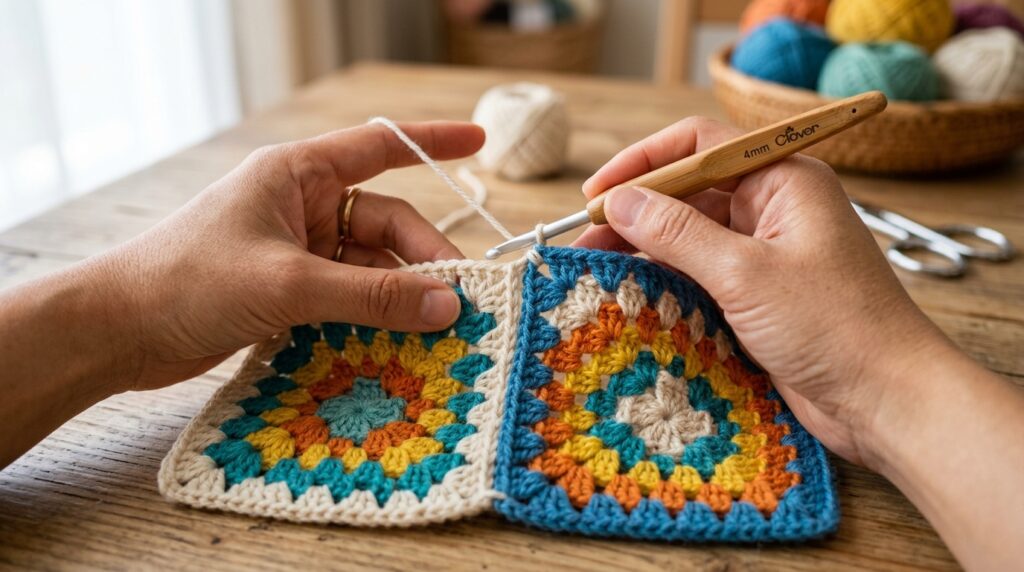
Granny Square Blanket: Step 4 – Joining the Squares
Explanation
Joining is where your blanket starts to come together. There are several methods, including slip stitch join, whip stitch, and join-as-you-go.
Choosing the right method affects both the look and flexibility of your blanket. Beginners often prefer simple joining techniques for ease and speed.
Steps:
- Step 1: Align two squares
- Step 2: Join using slip stitch or yarn needle
- Step 3: Continue joining rows and columns
Granny Square Blanket: Step 5 – Adding a Border
Explanation
A border gives your Granny Square Blanket a polished and finished look. It also helps even out any inconsistencies along the edges.
You can choose a simple border or something more decorative. Either way, it enhances the overall design and durability of your blanket.
Steps:
- Step 1: Attach yarn to the edge
- Step 2: Work single or double crochet around the blanket
- Step 3: Add decorative stitches if desired
Granny Square Blanket: Step 6 – Weaving in Ends
Explanation
Every color change and square creates loose yarn ends. Properly weaving them in ensures durability and a clean finish.
Although this step may seem tedious, it is essential. Skipping it can cause your blanket to unravel over time.
Steps:
- Step 1: Thread yarn needle
- Step 2: Weave ends through stitches
- Step 3: Trim excess yarn
Granny Square Blanket: Step 7 – Final Inspection and Blocking
Explanation
The final step in completing your Granny Square Blanket is inspection and blocking. Blocking helps shape the blanket and even out stitches.
This step enhances the overall appearance and ensures your blanket looks professional.
Steps:
- Step 1: Lay the blanket flat
- Step 2: Adjust shape and corners
- Step 3: Lightly steam or spray with water and let dry
Common Mistakes When Making a Granny Square Blanket
Many beginners face common challenges:
- Uneven square sizes
- Loose or tight tension
- Incorrect stitch count
These issues can affect the final result. Always take your time, count stitches, and practice regularly.
Creative Ideas for Your Granny Square Blanket
Once you master the basics, you can experiment with:
- Color gradients
- Different stitch textures
- Unique layouts
This allows you to create a blanket that reflects your personal style.
Creating a Granny Square Blanket is more than just a crochet project—it’s a creative journey. From your first square to the final stitch, every step teaches you something new and builds your confidence.
With patience and practice, you can transform simple yarn into a beautiful, handmade piece that carries warmth and personality. Whether for yourself or as a gift, your blanket will always have a special meaning.
Start small. Make a few squares each day instead of rushing. Consistency is the secret to completing a beautiful Granny Square Blanket.