Learn Granny Square – Crochet Pattern with a complete beginner guide, detailed steps, tips, and creative ideas.
The Granny Square – Crochet Pattern is one of the most iconic and beginner-friendly techniques in the world of crochet. Recognized for its timeless charm and versatility, the granny square has been used for generations to create everything from cozy blankets to stylish garments. If you’re new to crochet, this pattern is the perfect starting point to build confidence and develop essential skills.
What makes the granny square so special is its simplicity combined with endless creative potential. With just a few basic stitches and a repetitive structure, you can produce beautiful designs that look far more complex than they actually are. In this complete guide, you will learn everything you need to master the Granny Square – Crochet Pattern, from materials and stitches to a detailed step-by-step tutorial designed specifically for beginners.
What is Granny Square – Crochet Pattern?
The Granny Square – Crochet Pattern is a classic crochet motif worked in rounds, typically forming a square shape with clusters of stitches and chain spaces. It is often made using double crochet stitches grouped together, separated by chain spaces that create the signature open and airy design.
This pattern is widely loved because it is easy to memorize, making it perfect for relaxing crochet sessions. It also allows for creative freedom, as you can mix colors, textures, and sizes to create unique pieces. Whether you want to make a blanket, scarf, bag, or even clothing, mastering the granny square is a valuable skill.
Materials You Need for Granny Square – Crochet Pattern
Before you start, it’s important to gather the right materials. Having the proper tools will make your crochet experience smoother and more enjoyable.
Here’s what you’ll need:
- Yarn (cotton or acrylic for beginners)
- Crochet hook (size appropriate for your yarn)
- Scissors
- Yarn needle
- Stitch markers (optional)
Choosing a light-colored yarn is highly recommended for beginners, as it makes it easier to see your stitches. Medium-weight yarn is also ideal because it balances visibility and flexibility.
Basic Stitches for Granny Square – Crochet Pattern
To successfully follow the Granny Square – Crochet Pattern, you need to be familiar with a few basic crochet stitches:
- Chain (ch)
- Slip stitch (sl st)
- Double crochet (dc)
These stitches form the backbone of the granny square. Practicing them beforehand will help you maintain consistent tension and achieve cleaner results.
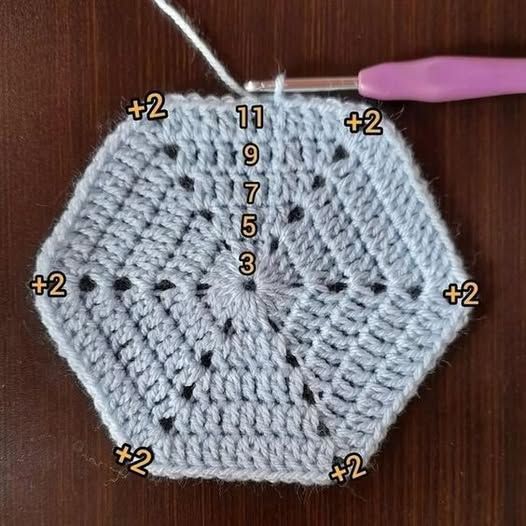
Understanding the Structure of a Granny Square
Before diving into the tutorial, it’s important to understand how a granny square is constructed.
A granny square is made in rounds, starting from the center and expanding outward. Each round adds more stitches and defines the square shape. The corners are created using chain spaces, which allow the square to grow evenly.
The repetition of clusters (groups of three double crochets) and chain spaces is what creates the classic granny square look. Once you understand this pattern, you’ll be able to crochet without constantly checking instructions.
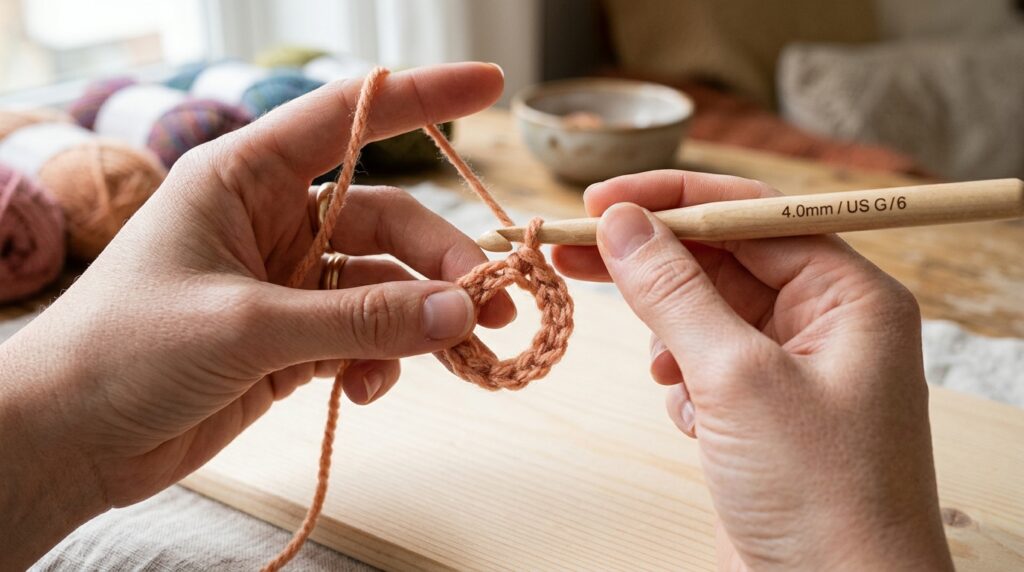
Granny Square – Crochet Pattern: Step 1 – Creating the Foundation Ring
Explanation
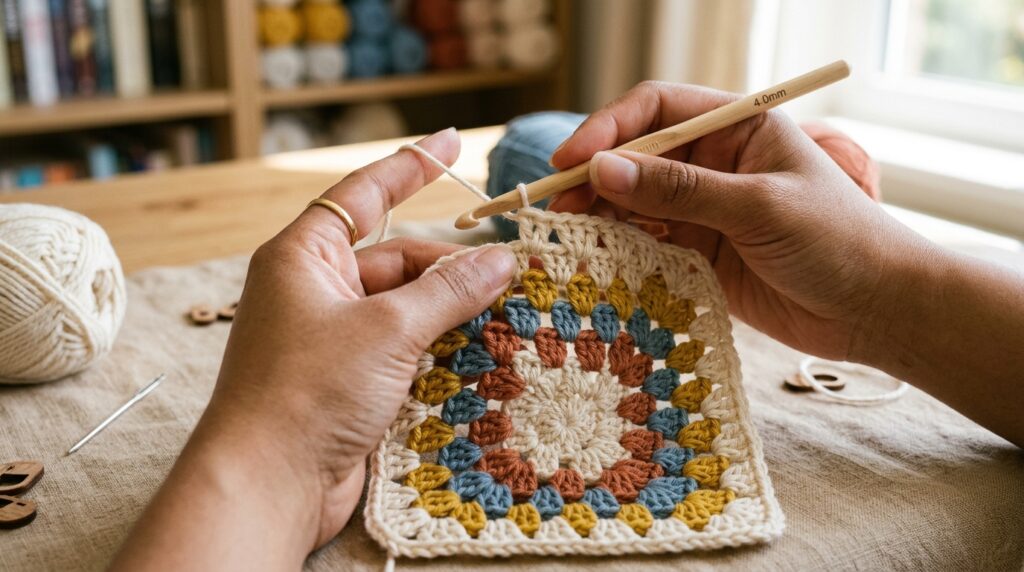
The first step in the Granny Square – Crochet Pattern is creating the foundation ring. This is the center of your square and the base upon which all other rounds are built. You can start with a magic ring or a chain loop. Beginners often prefer the chain loop because it is easier to handle.
This step is crucial because it determines how neat your center will look. A tight and secure ring ensures that your granny square does not have a large hole in the middle, giving it a more polished appearance.
Steps:
- Step 1: Chain 4 and join with a slip stitch to form a ring
- Step 2: Chain 3 (counts as your first double crochet)
- Step 3: Make 2 double crochets into the ring
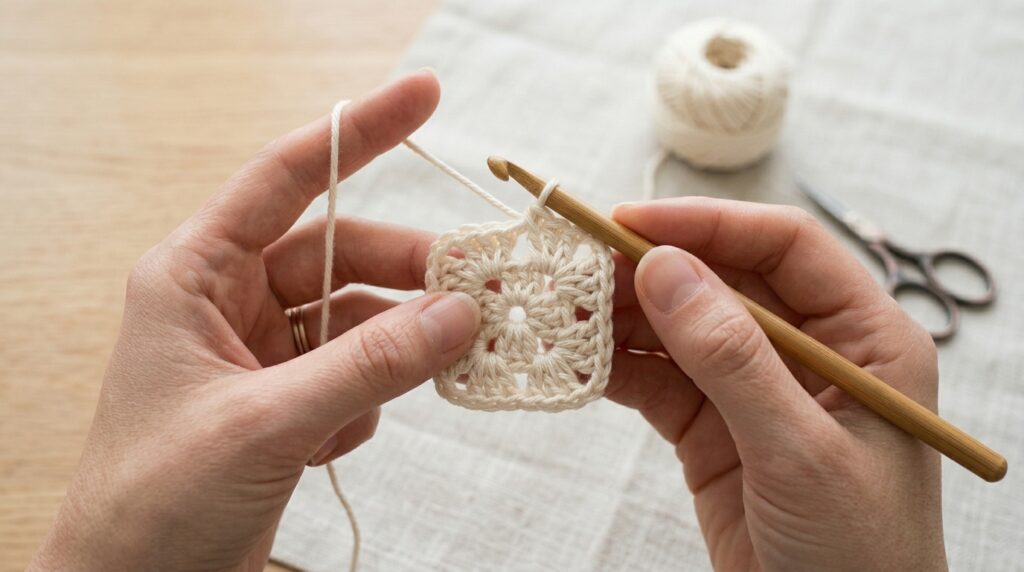
Granny Square – Crochet Pattern: Step 2 – Forming the First Round
Explanation
In this step, you will begin shaping the square by creating clusters and corners. Each corner is formed by a group of stitches separated by chain spaces.
This is where the magic happens—the circular shape starts transforming into a square. Paying attention to stitch placement is essential to maintain symmetry.
Steps:
- Step 1: Chain 2 (corner space)
- Step 2: Make 3 double crochets into the ring
- Step 3: Repeat the sequence (3 dc, ch 2) three more times and join with slip stitch
Granny Square – Crochet Pattern: Step 3 – Building the Second Round
Explanation
Now that your base square is formed, the next step is to expand it. In this round, you will work into the corner spaces and create new clusters along the sides.
This step introduces the concept of side spaces, which are essential for growing the square evenly. Maintaining consistent stitch count ensures that your square remains flat and well-shaped.
Steps:
- Step 1: Slip stitch to the nearest corner space
- Step 2: Chain 3 + 2 double crochets, chain 2, 3 double crochets (corner)
- Step 3: In side spaces, make 3 double crochets
Granny Square – Crochet Pattern: Step 4 – Continuing the Pattern
Explanation
At this stage, the pattern becomes repetitive, which is great for beginners. You will continue expanding the square by repeating the same structure: clusters along the sides and increases at the corners.
This repetition helps you build muscle memory. With time, you’ll be able to crochet granny squares without even looking at instructions.
Steps:
- Step 1: Work 3 double crochets in each side space
- Step 2: In each corner, make (3 dc, ch 2, 3 dc)
- Step 3: Repeat around and join with slip stitch
Granny Square – Crochet Pattern: Step 5 – Finishing the Square
Explanation
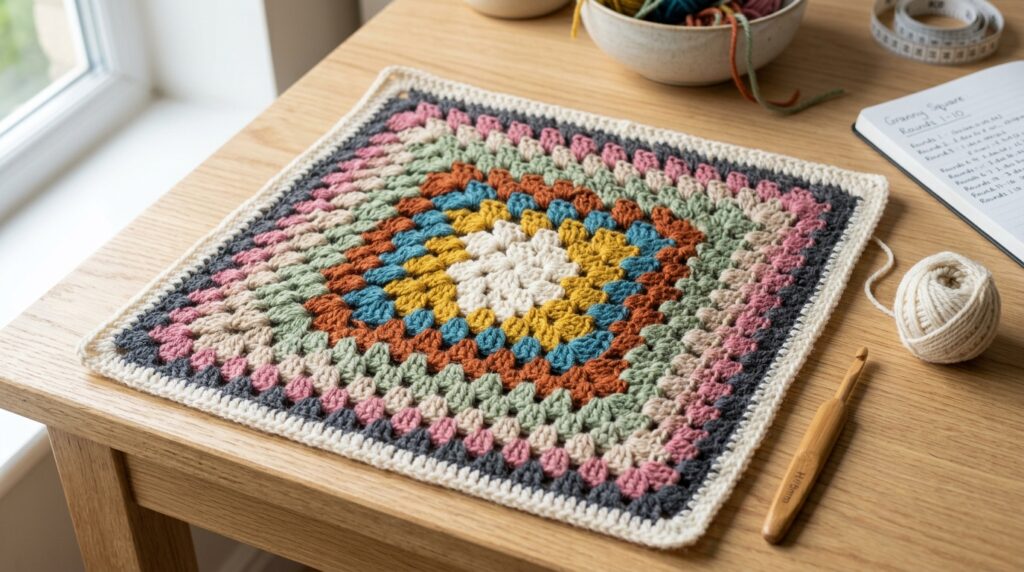
Once your square reaches the desired size, it’s time to finish. Proper finishing ensures durability and a clean appearance.
You can choose a simple finish or add decorative edges. The most important part is securing and hiding the yarn ends neatly.
Steps:
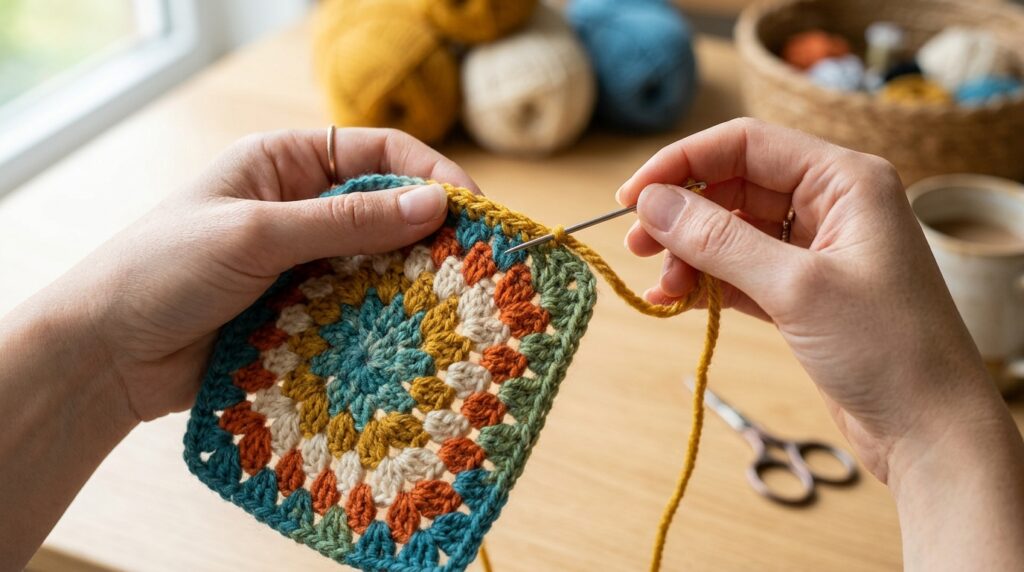
- Step 1: Cut the yarn leaving a tail
- Step 2: Pull through to secure
- Step 3: Weave in ends using a yarn needle
Common Mistakes in Granny Square – Crochet Pattern
Even though the Granny Square – Crochet Pattern is beginner-friendly, some common mistakes can affect your results:
- Skipping corner spaces
- Adding too many stitches on the sides
- Uneven tension
To avoid these issues, always count your stitches and check your work after each round.
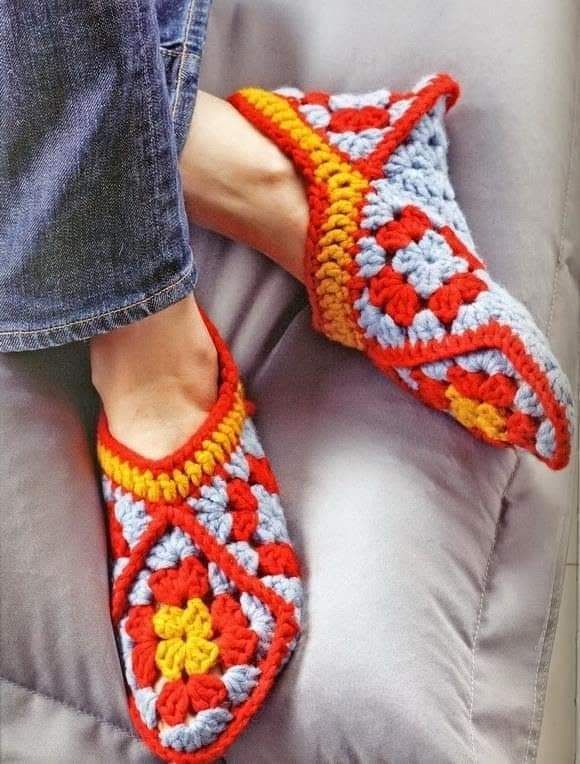
Creative Ideas Using Granny Squares
Once you master the Granny Square – Crochet Pattern, the possibilities are endless:
- Blankets and throws
- Cardigans and sweaters
- Bags and accessories
- Pillow covers
Experimenting with colors is one of the most fun parts. You can create modern, vintage, or even minimalist designs depending on your palette.
The Granny Square – Crochet Pattern is a timeless technique that every crocheter should learn. It combines simplicity, creativity, and versatility, making it ideal for beginners and experienced crafters alike. By following this guide, you now have the knowledge to create beautiful granny squares with confidence.
Crochet is more than just a craft—it’s a relaxing and rewarding activity. Whether you’re making something for yourself or as a gift, each stitch carries creativity and care. Keep practicing, explore new variations, and enjoy the process of bringing your ideas to life.
Start small and practice consistently. Even making one granny square a day will quickly improve your skills and help you build amazing projects over time!